AI for Photo Booths
Ready to step into the future of AI for photo booths and live events? I’ll teach you how to stand out by offering your client’s something truly unique.
Demystify AI for photo booths
AI Awesomeness: I’ll show you how easy it is to harness its power for live events. No engineering degree or rocket-science required. Just the ability to follow instructions 🙂
Photo Booth Implementation: You’ll learn how to implement the process for recreating my “Pix’d by effects” (or virtually anything else) using any photo booth software. Including how to setup Printing and Social sharing using any sharing kiosk.
Unlimited Potential: With these new skills, your events are going to be unforgettable. Imagine attending a Barbie premier and instantly getting turned into a doll in a photo booth. Needless to say, this will blow your clients minds.
Just some of the things you will create...
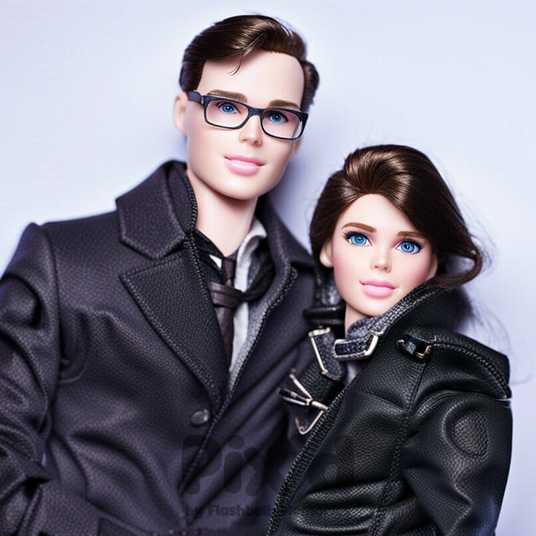
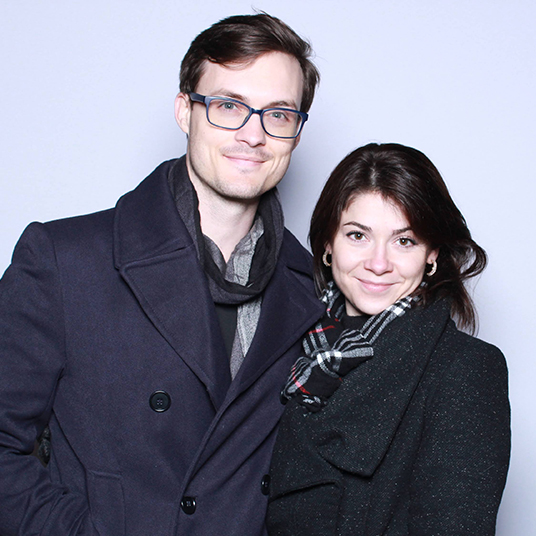
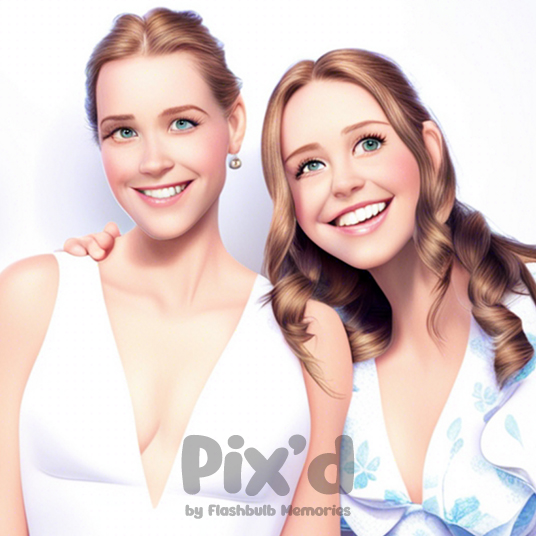
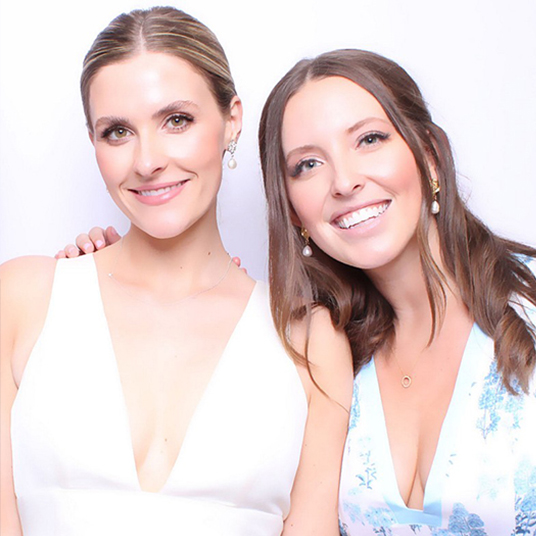


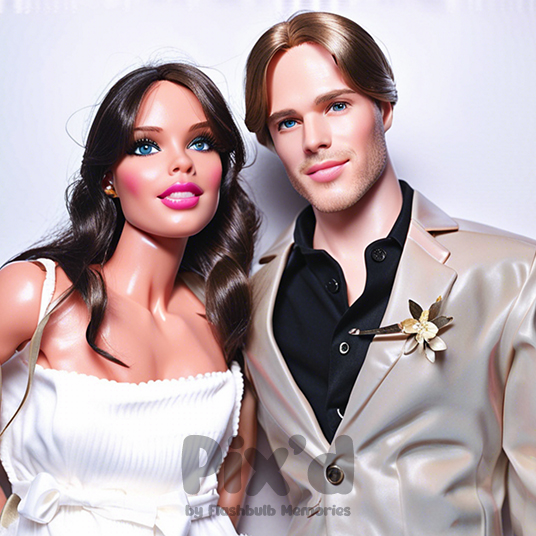
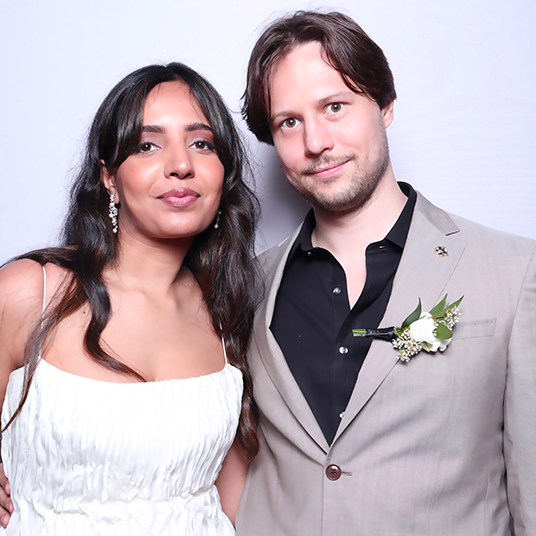
C'mon Barbie, let's go party!
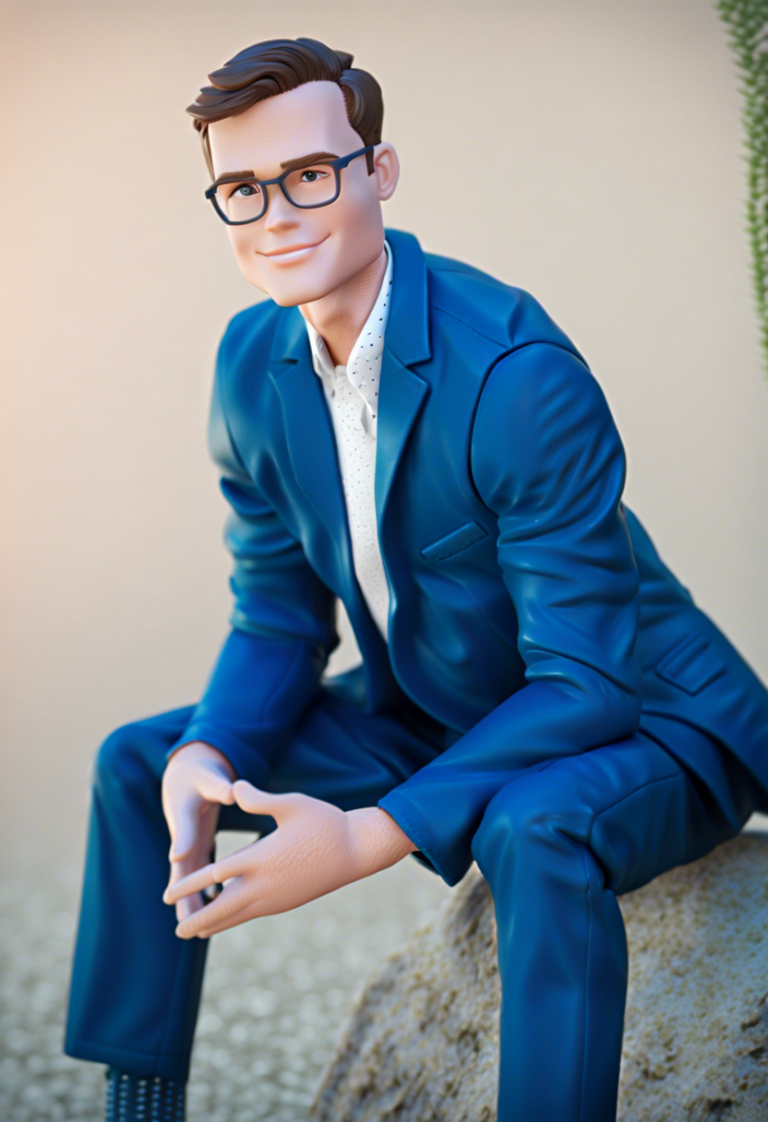
Turn your guests into Barbie and Ken style toy dolls right from your photo booth. Or create their Disney-inspired animated counterparts using AI!
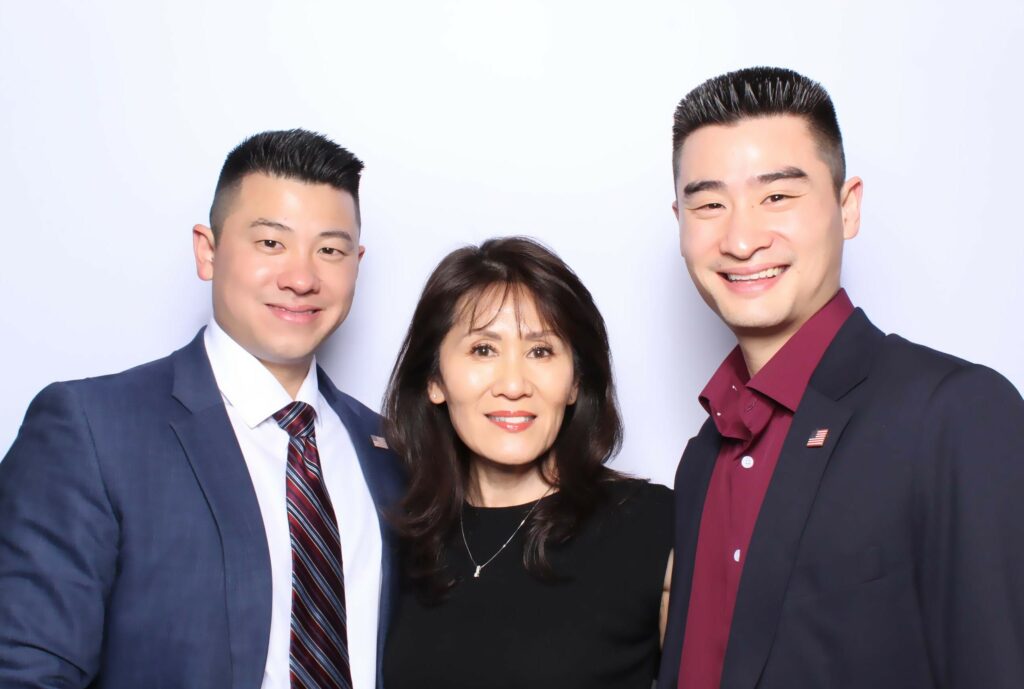
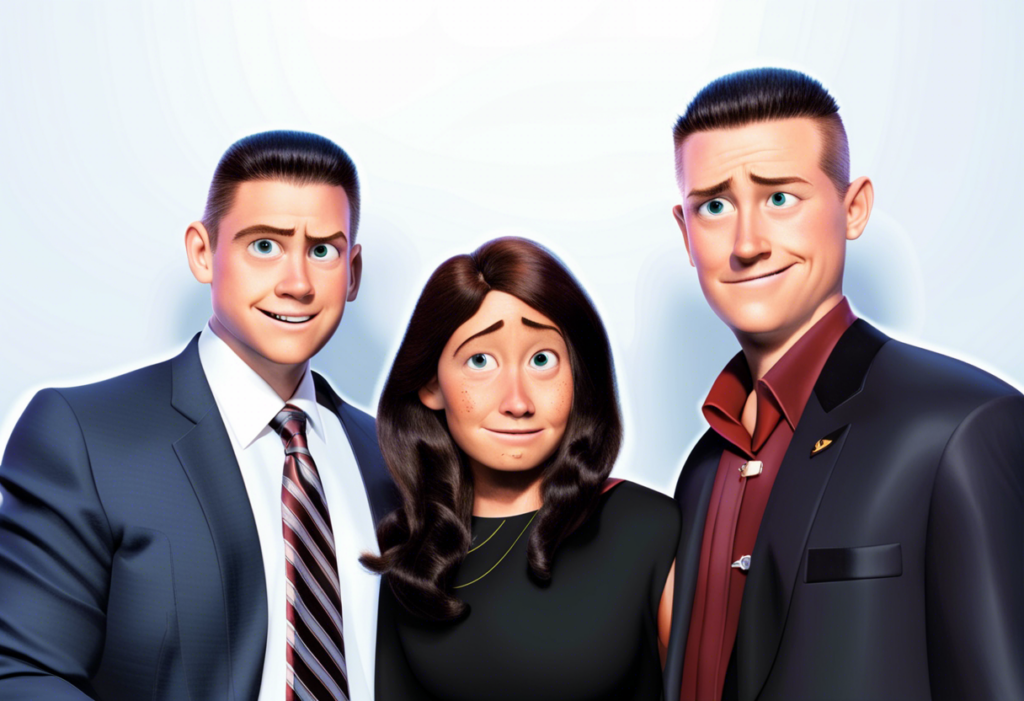
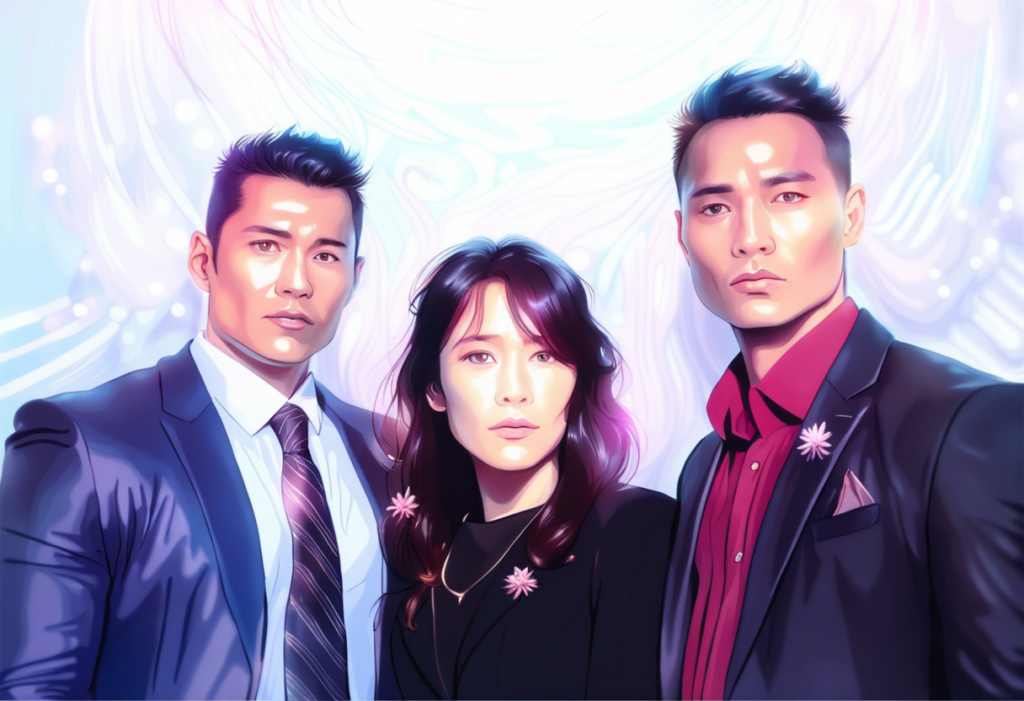
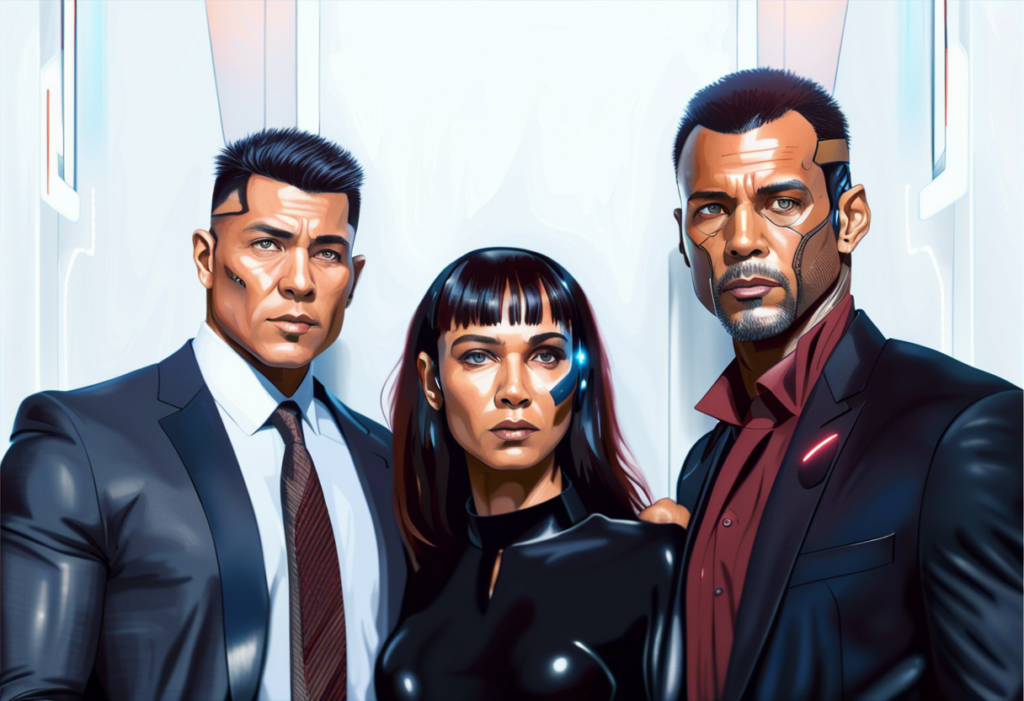
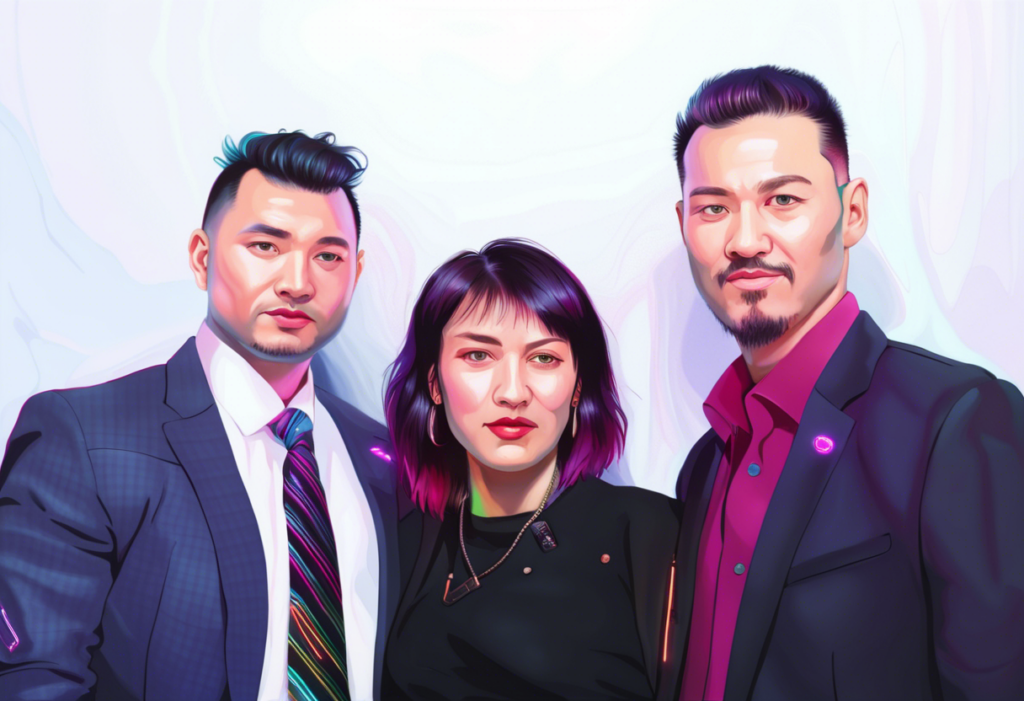
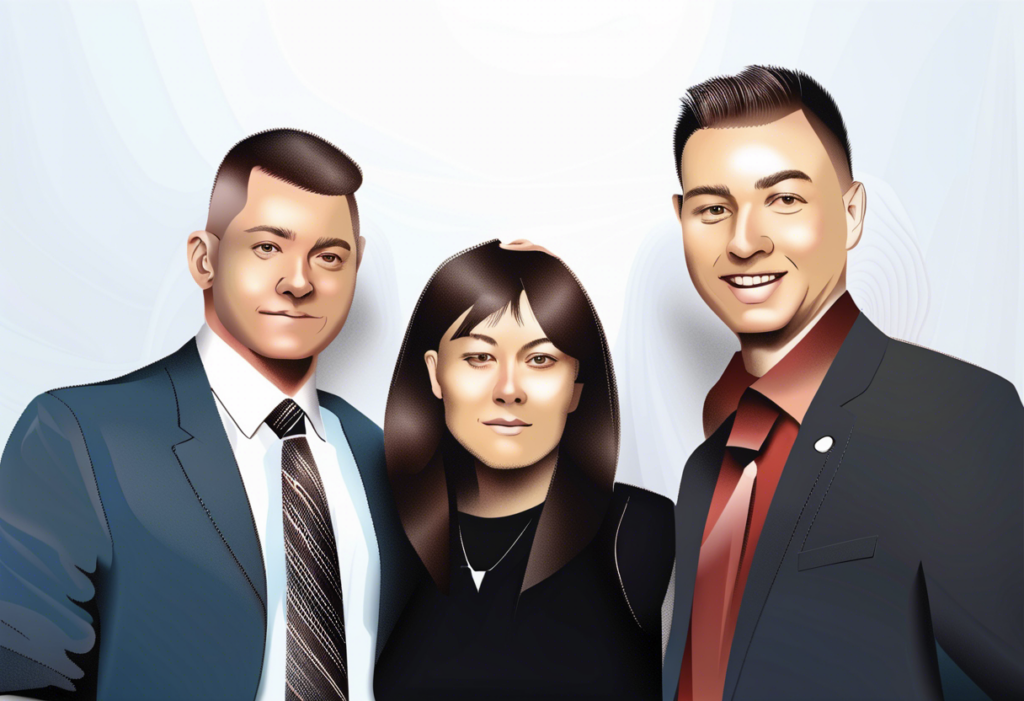
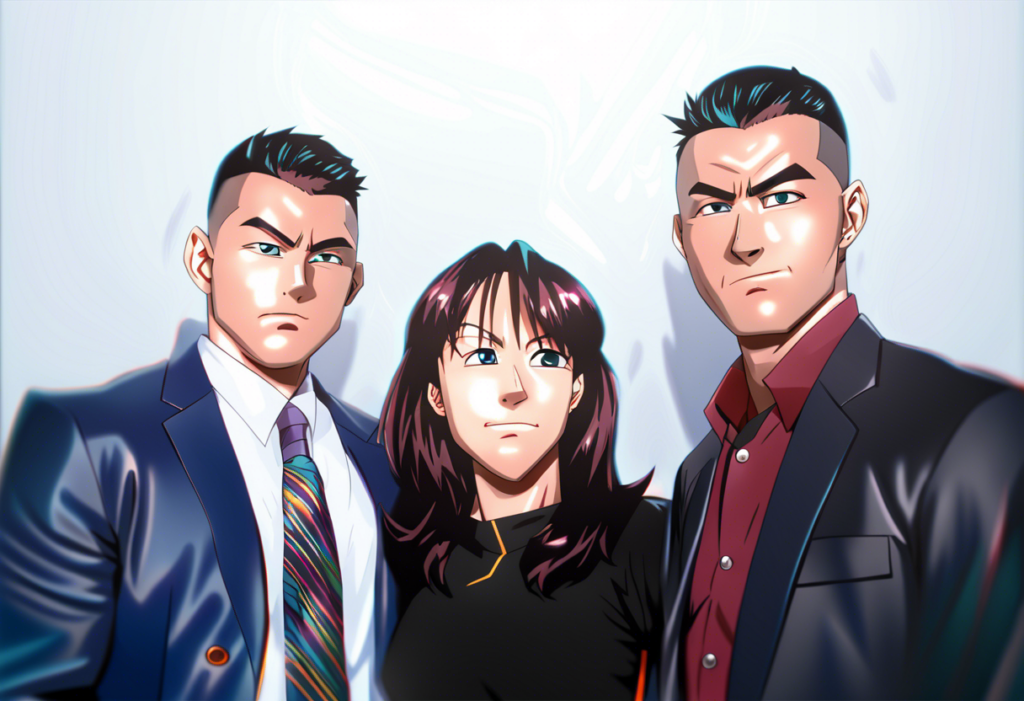
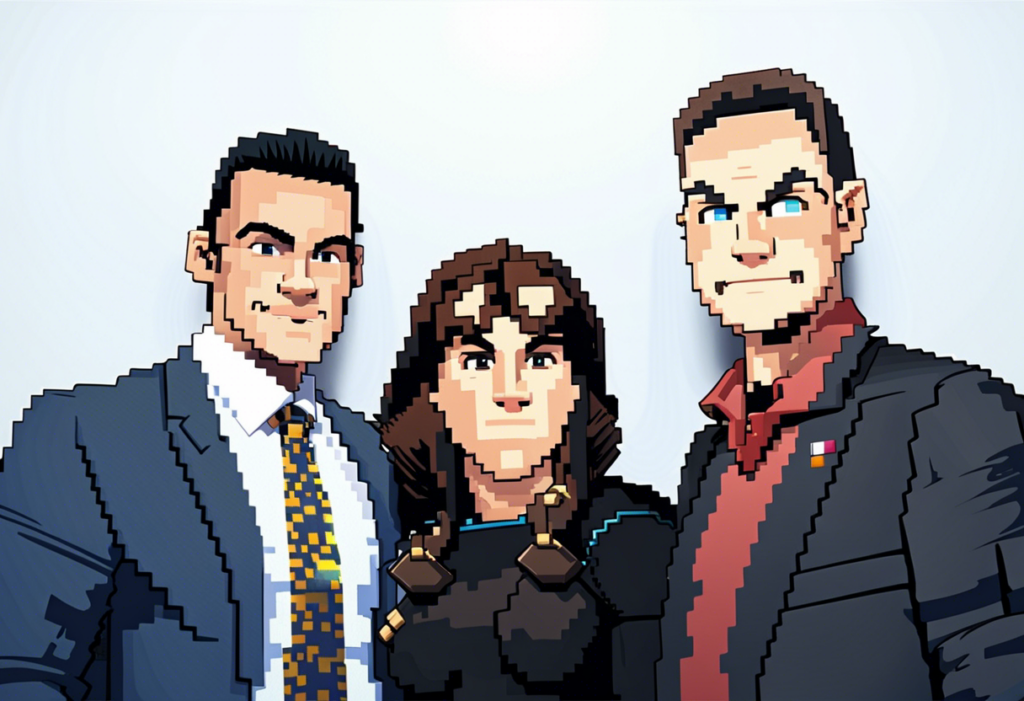
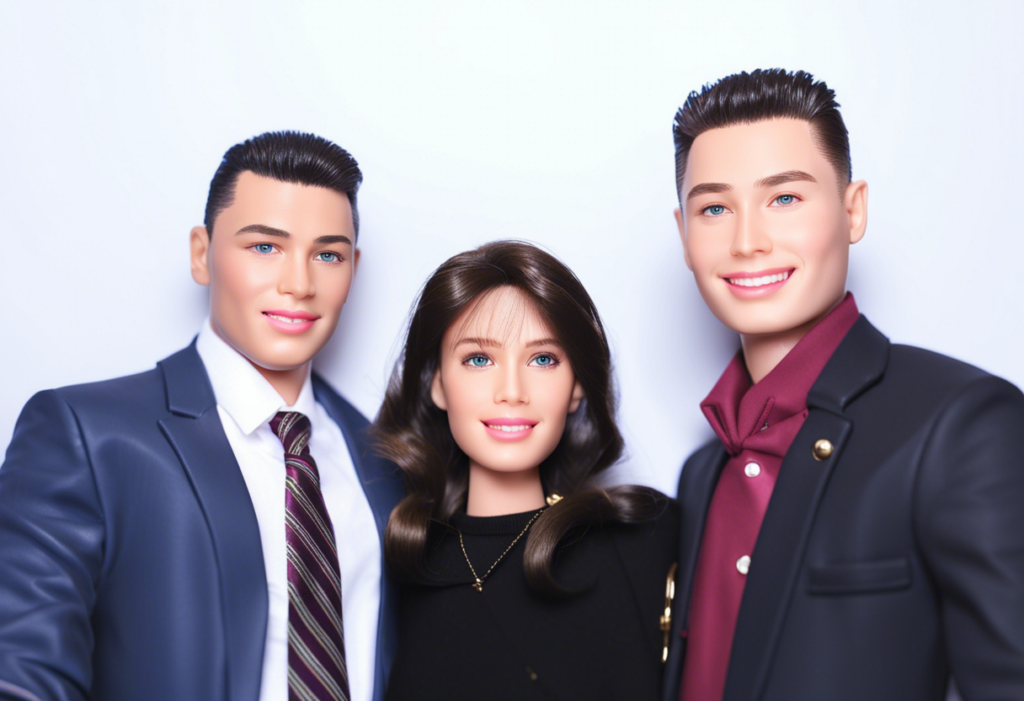
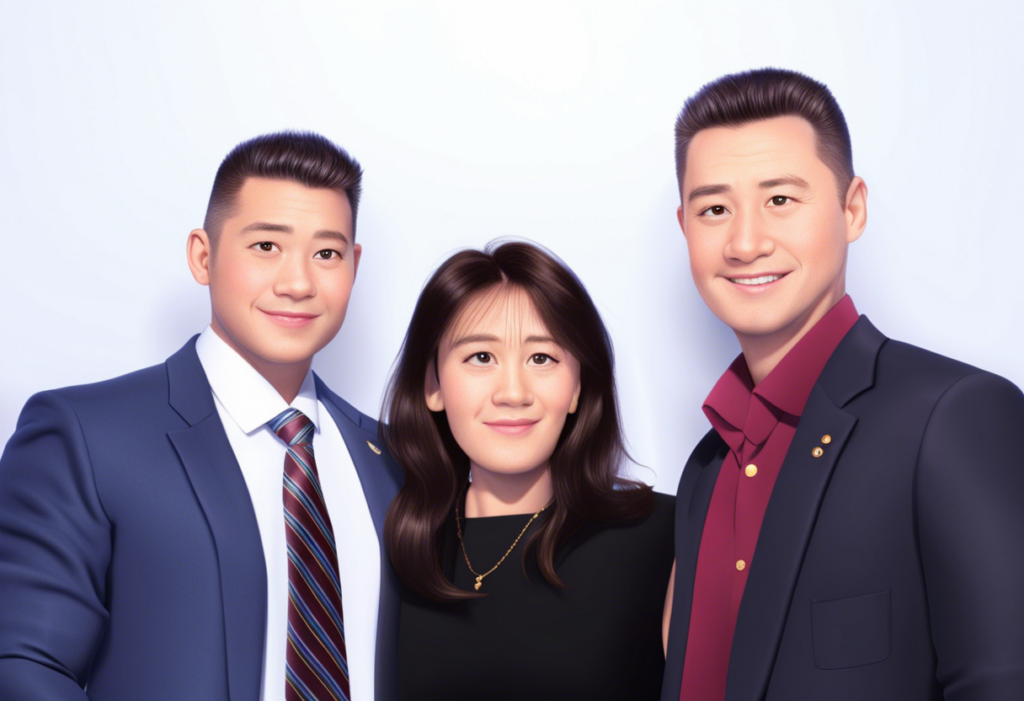
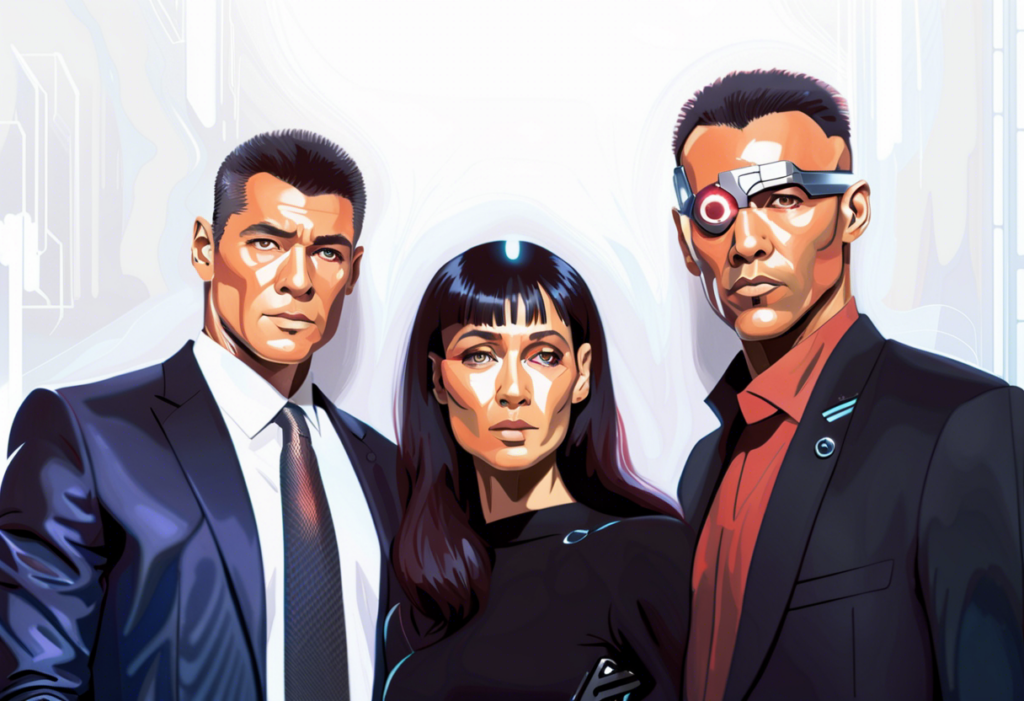
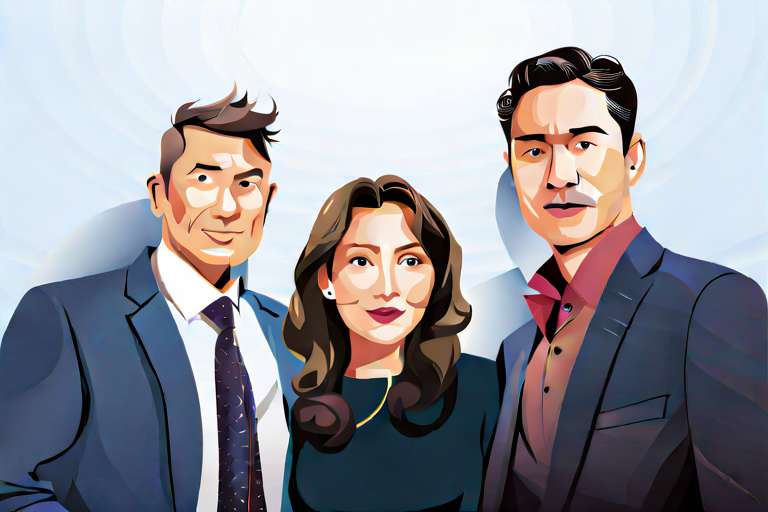
Style with AI to fit your theme.
Style your AI photos to match your clients theme or vision. The more creative the output, the less it will have your guests likeness (for now…)
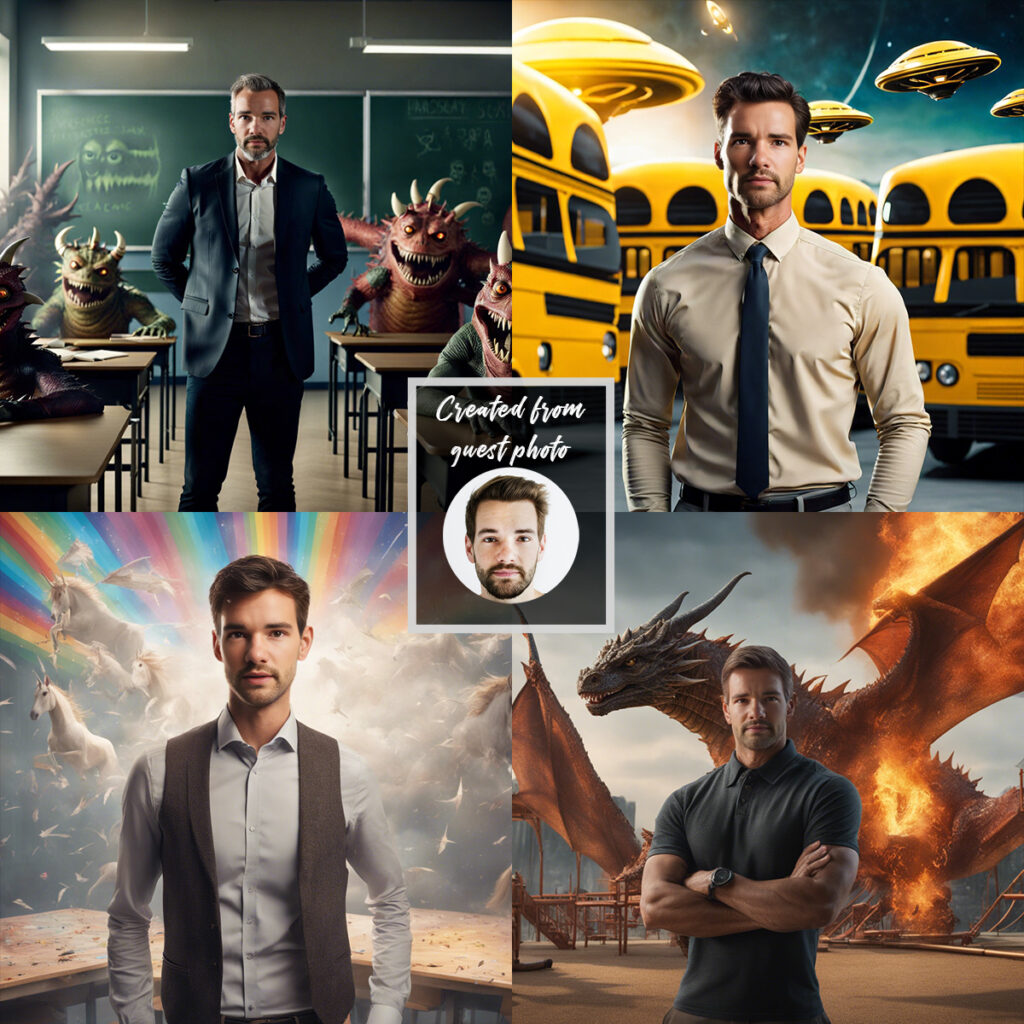
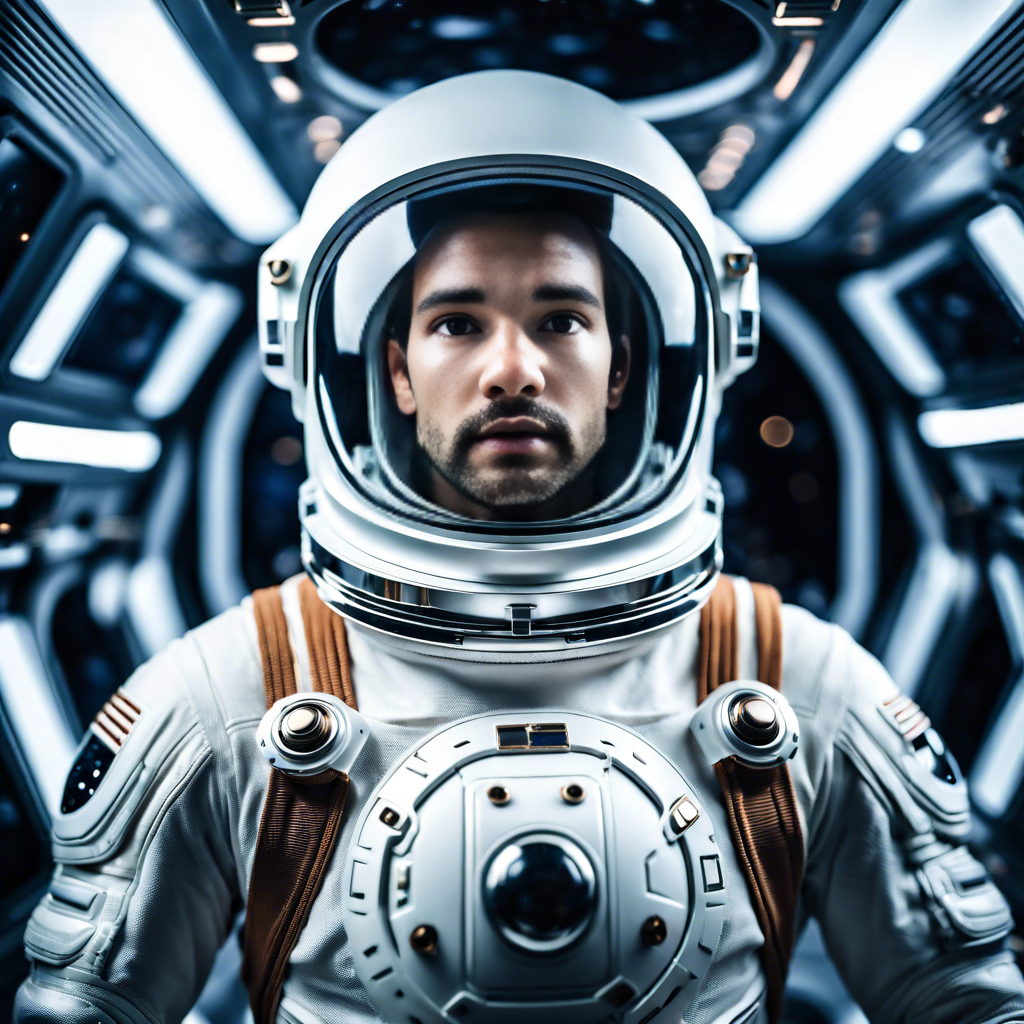

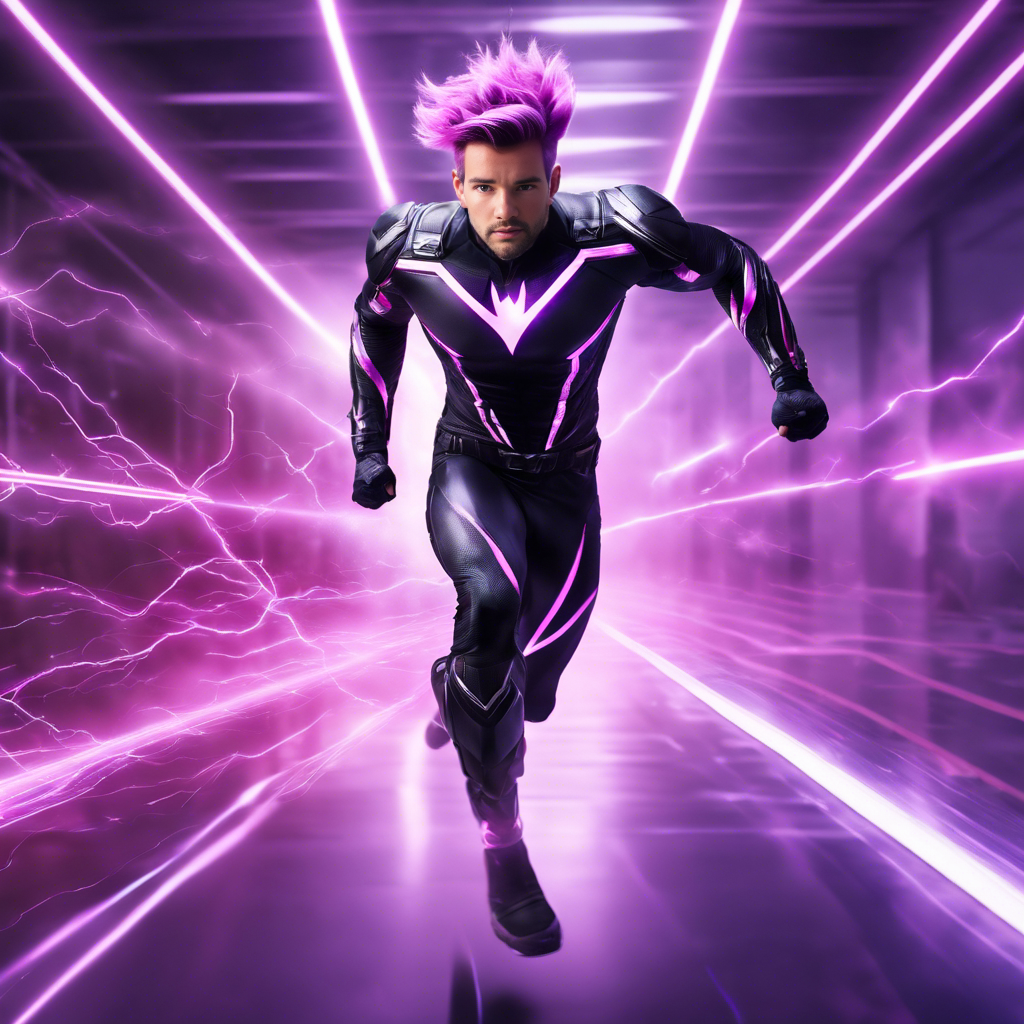

It's a bird, it's a plane, it's your guest in an AI photo booth!
My newest addition to this course details my coveted Faceswap technique, where I show you how to take a guest photo and place them in any other photo using AI. Turn them into a superhero, put them on the moon, and so much more.
After completing this course, you'll learn how to:
- Master AI tools to create custom imagery for your clients (or your photo booth company!)
- Implement live AI photo manipulation into your live photo booth experience using a Dropbox watchfolder
- Streamline and completely automate the sharing experience w/ optional printing using a sharing kiosk
- Recreate my Barbie-style and Cartoon-style Pix'd 1.0 effects
- Recreate my Faceswap Pix'd 2.0 effects using any pre-generated AI output photo
Course Curriculum
Module 1: Introduction to AI
Introduction including a list of the required apps for generating imagery, automating your workflows, and implementing live sharing techniques.
Module 2: Mastering AI
Learn start to finish as I guide you through every step to implement the tools and my exact techniques to achieve my stylized AI changes featured in my Pix’d 1.0 images. Download and import my ready-made-templates to expedite the process.
Module 3: Creating Multiple AI Outputs
Learn how to turn one image into any number of AI output images to give your guests the ultimate variety and choice.
Module 4: AI Background Replacement
Learn how to accomplish AI Background Replacement powered by remove.bg to place your guests into any scene you (or they) can imagine.
Module 5: Combining It All in Breeze DSLR Remote Pro
Learn how I combine everything in Breeze DSLR Remote Pro so you can enable surveys to let guests choose their background image with a prompt. Or automate SMS/Email sharing without using a sharing kiosk by collecting their phone number at the booth.
Module 6: AI Faceswap Technique with Pix'd 2.0
Learn how to accomplish my infamous AI Faceswaps and place your guest into the body of another photo. I’ll show you how to automate and randomize the output photos for maximum creativity and a truly unique experience for guests.
3
You put in a lot of effort on the subject, but you’re not seeing any results.
There’s a growing community of “digital nomads” who live a location independent lifestyle. We’re software developers, designers, writers, journalists, engineers, and all sorts of people
4
You’re not sure if another course will be of assistance.
There’s a growing community of “digital nomads” who live a location independent lifestyle. We’re software developers, designers, writers, journalists, engineers, and all sorts of people consequat duis enim velit mollit.
On top of that, you'll get access to these bonus items...
Did Someone Say Free?
That’s right. You’ll get all of these bonus freebies just for signing up. Access will be available within your course under Bonuses!
Here Goes Your Bonuses Title
Most of us have, at some point, considered what we would do if we could travel back in time. Maybe we would give ourselves
Here Goes Your Bonuses Title
Most of us have, at some point, considered what we would do if we could travel back in time. Maybe we would give ourselves
Here Goes Your Bonuses Title
Most of us have, at some point, considered what we would do if we could travel back in time. Maybe we would give ourselves
Some more things to look forward to:
Exclusive Deals
As an insider, you'll gain access to exclusive deals and first-dibs on newly launched future courses.
Lifetime Access
Lifetime access to the course and any updates provided. Revisit material and refresh your knowledge on demand.
Facebook Community
Join our free Facebook Community Group to ask questions and interact with other students and owners.

What Others Are Saying


No Refunds
Do to the nature of digital courses, once you purchase you gain access to all of the content provided within, so there are no refunds offered.
Is this course right for me?
Amet minim mollit non deserunt ullamco est sit aliqua dolor do amet sint. Velit officia consequat duis enim velit mollit.
Prior to the course, your life was like this:
- You can schedule an appointment we will provide a best-in-class customer service experience.
- You can schedule an appointment we will provide a best-in-class customer service experience.
- You can schedule an appointment we will provide a best-in-class customer service experience.
- You can schedule an appointment we will provide a best-in-class customer service experience.
- You can schedule an appointment we will provide a best-in-class customer service experience.
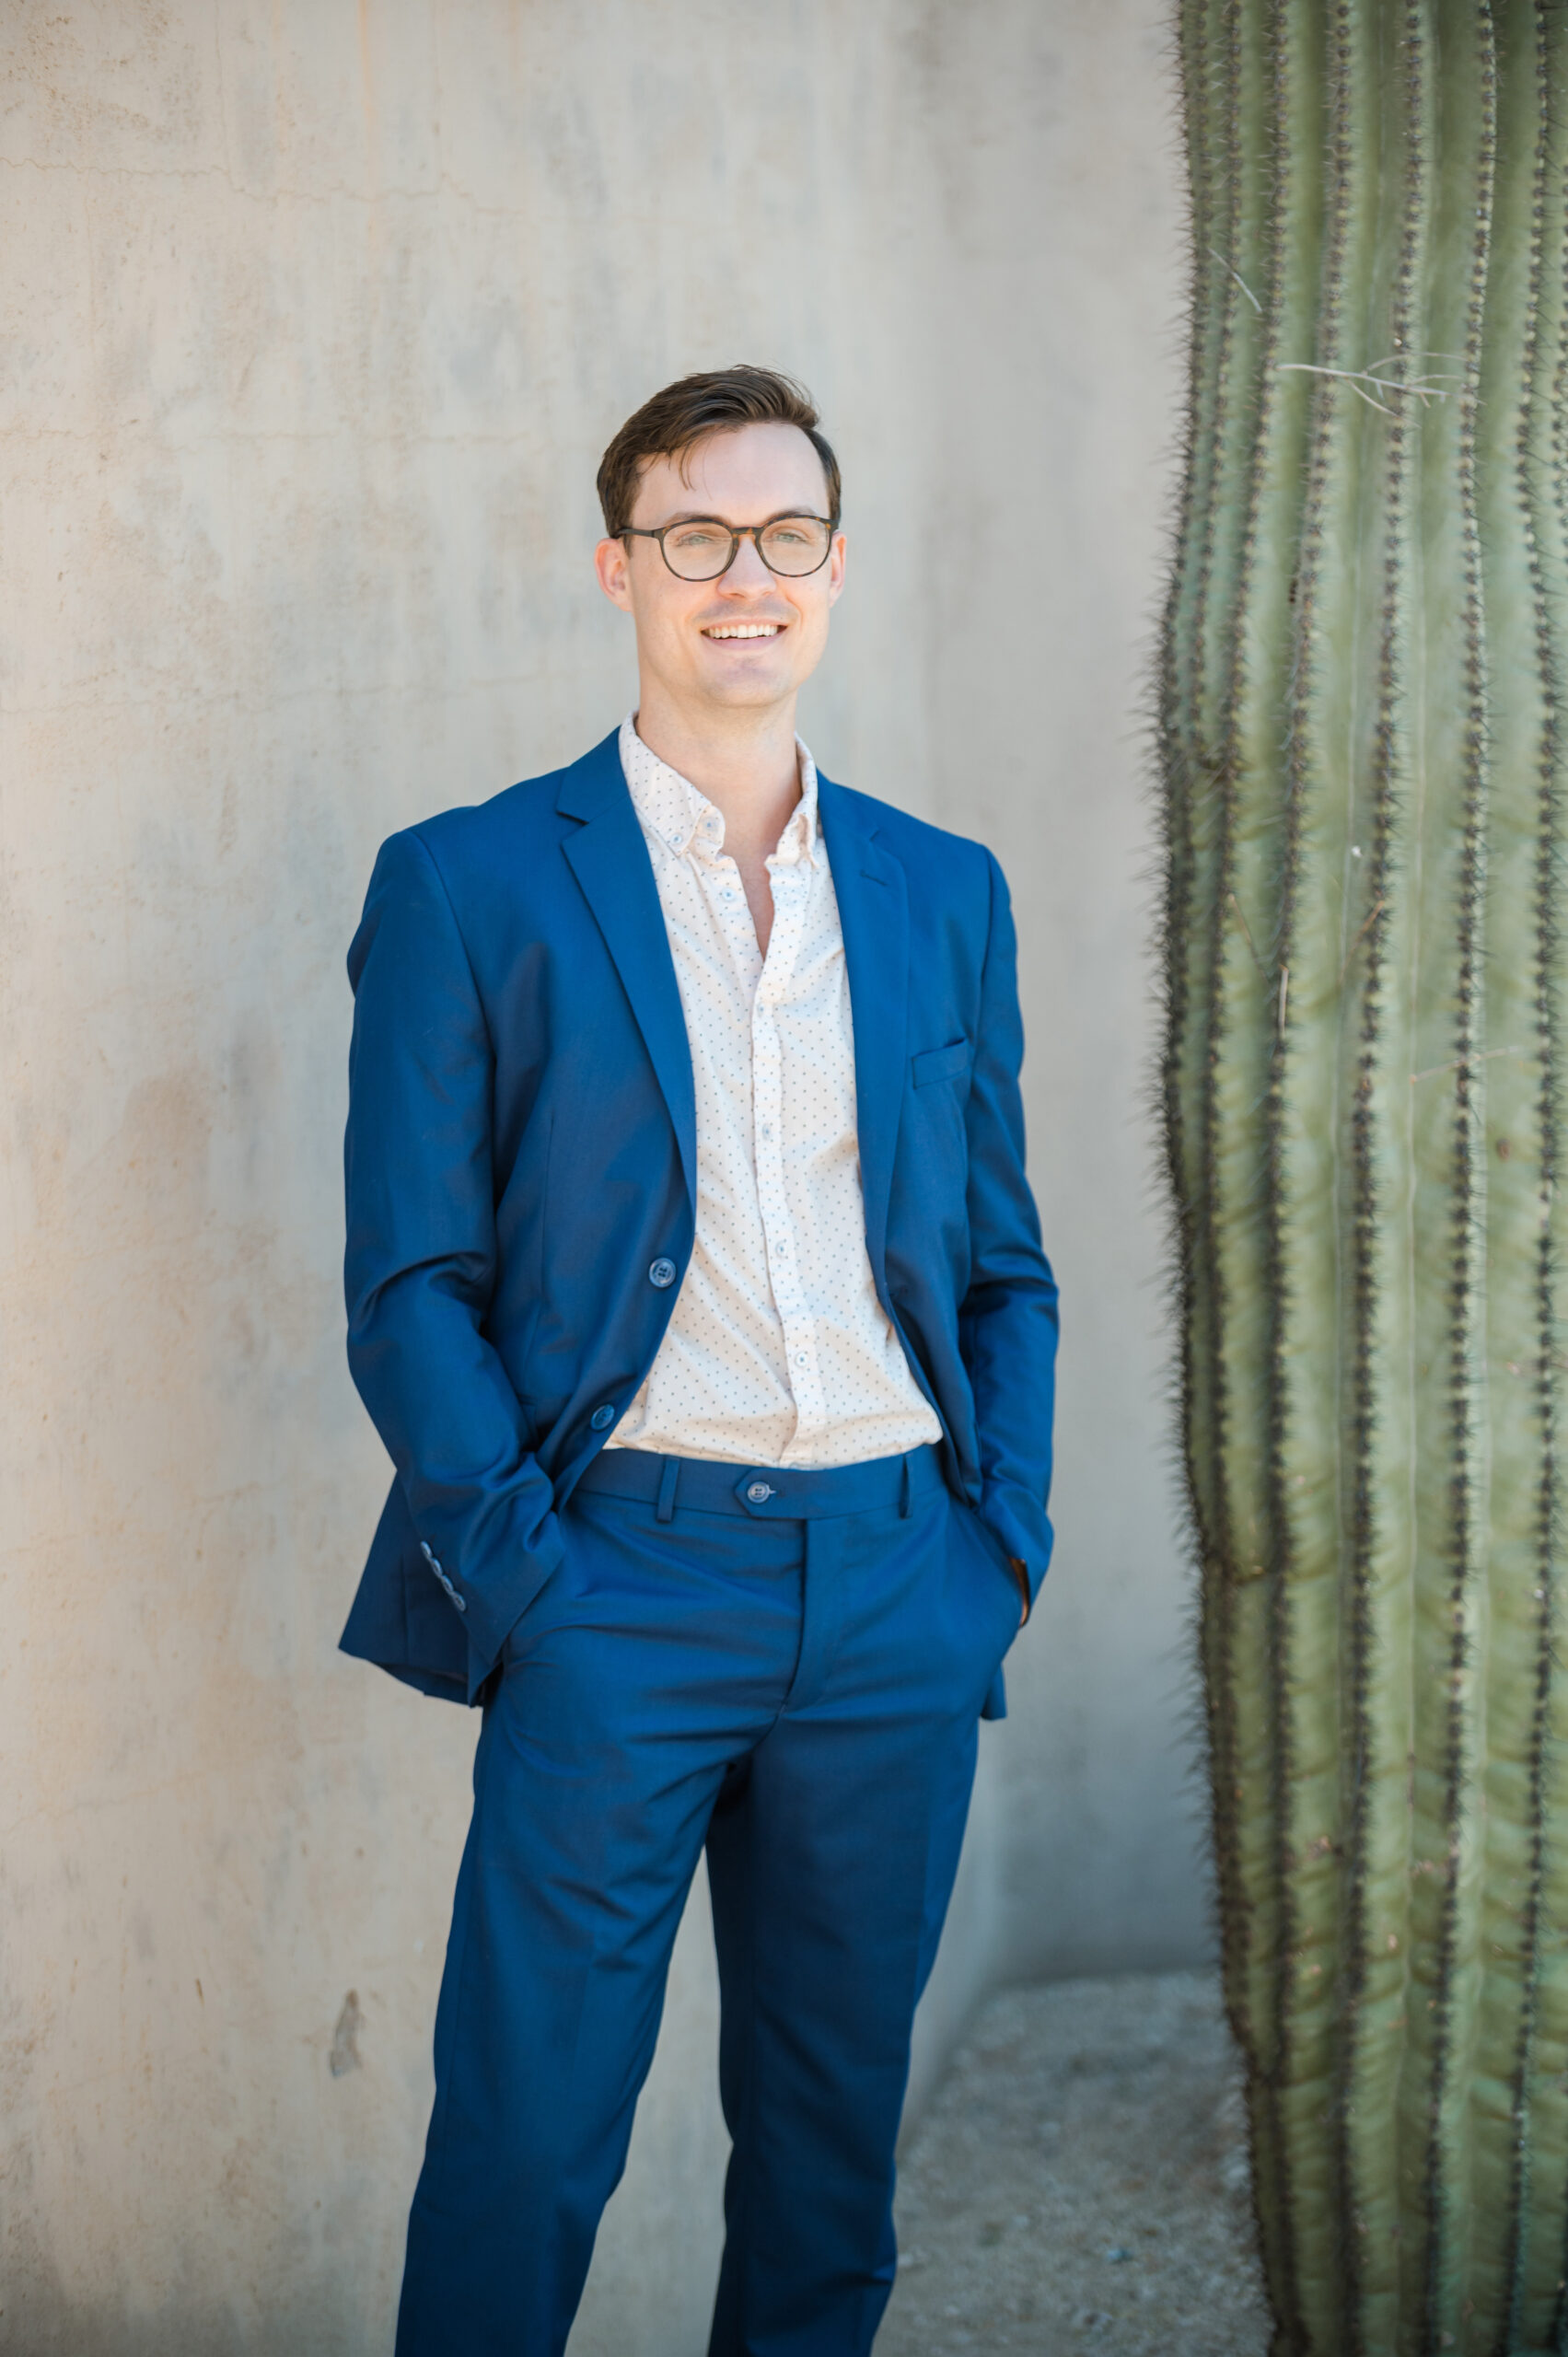
Hi, I'm Matthew!
As a boother of nearly a decade, I’ve been through the ups and downs first-hand of running a photo booth company. Today, I’m here to turn my knowledge and experience into actionable insights to help you shortcut your way to success in this industry. Whether you want to up your side hustle income, or go full time, I’ll help you get there.
Worked With


Questions? I have answers!
The course is open for you as soon as you complete your payment. You’ll have lifetime access, so you can complete it on your own time (though I recommend taking action sooner to make the most of it).
Everything mentioned on this page (and often more). You’ll gain access to everything released and described on this page, and also any future updates (for free)!
I cover my original Pix’d 1.0 effects (AI Stylization changes like Barbie and Pixar looks). I also cover my Pix’d 2.0 effects (Faceswaps to custom generated AI images).
If you have any trouble at any point in time throughout the course, you can easily reach out to me by email or in our Free Facebook Community. And if you are looking for business support in implementing the material taught, you can always book a private coaching session with me!
Due to the nature of this digital course and that you’ll gain access to all materials upon payment, revealing all of the secrets and AI tools, there are no refunds provided. If you are unhappy for any reason, or still aren’t sure this course is right for you, shoot me an email.
Anything! This process is not software dependent. It works using a Dropbox watchfolder.
All you need for this to work with your photo booth software is a Dropbox account to watch/download the photos. In order to print the photos live at an event, you will need to use a sharing kiosk solution. I recommend LA Photo Party Upload, Snappic, Pic Pic Social, or Breeze Kiosk, but any should work, as long as you can point it to a watch folder on your PC.
Keep in mind with Snappic, and possibly some others, you may be able to upload into your microsites for sharing, but as far as I’m aware, you can’t apply the template branding after the fact. So, if you want to use Snappic & have branded overlays, you’ll need a combined solution like Breeze Hotfolder Prints, which can customize the print-template layout before it gets uploaded. With my Faceswap technique – you can pre-brand the output images so you can use any solution you’d like.
The way it works is like this:
1) Photo gets taken on your booth, or really anything, and saved to your Dropbox folder.
2) Photo automatically uploads and is processed according to your premade your AI command.
3) Photo downloads back into a subfolder called ‘edits’ for you to use however you see fit. I recommend a sharing kiosk so you can live print/share the AI output at events, along with your own custom overlay.
As an alternative or addition to step 3) you can also have the images be queued for automatic texting (using Twilio) or emailing (Gmail or other compatible app) but will require collecting user-data from a Survey, which I cover in this course using Breeze DSLR Remote Pro.
This one varies depending on a few factors. First, your initial image will need to upload before processing. For this reason, I recommend shooting at a medium/small size. Anything larger is unnecessary as your image is resized by AI.
The actual processing done by the AI is up to you in terms of speed/output desired. In my ‘barbie’ and ‘cartoon’ Pix’d by examples, each of these took under 30 seconds to be processed by AI. Including the total upload/download time, and the time for it to populate on my LAPP photo sharing kiosk, it was under 1 minute and 30 seconds to be able to print/share. Consistently I’ve been able to share/print images under 2 minutes in testing. But results can obviously vary.
Note, that once turned on, the app will queue every minute to check for new images in your Dropbox folder and will process 5- 10 images at a time, depending on your final settings.
For my Faceswap Pix’d 2.0 technique it’s super fast and can be queued to share with results delivered in 15-40 seconds generally.
Practice makes perfect! My recommendation would be to start with the prompts I’ve included for my barbie and cartoon filters, so you can test the outputs that I have found to be fairly consistent. Try it with different photos taken from your photo booth and see what you get.
When taking pictures of guests, it’s best if it’s head-on, with the right lighting. AI will use your existing image as a reference shot, so the better it is, the better your output will be. Also, I found it best to not zoom out too much, as you lose details in people, so things like genders or skin tones are more likely to be distorted.
And if you can avoid it, keep people’s hands out of the pictures, as well as any text – AI has a bit of trouble rendering this as of now.
Your final output is only limited by your imagination (and the scope of the AI).
The Barbie and Cartoon filter effects I feature in this tutorial are just to show you what’s possible, with some practical and relevant effects that I found to look great.
Using the power of AI, you’ll be able to come up with your own prompts to modify your final image as you see fit, within constraints of the AI model, which is evolving every day. Think of it as stylized image modifications, rather than re-imagining the entire scene with your guest. In order for the AI output image to be accomplished and still retain the features of your guests, the output image will look just like your input image, but with whatever stylized effects you applied.
And with my Faceswap AI you can create so much more – putting your guests into any scene you can imagine and create with AI.
Have a look at the samples on this page to see some outputs I achieved after a few minutes of playing around with the AI.
No. And yes. What you are buying in this course is knowledge. And as part of that, I will walk you through step by step how to plug in to the AI software / API / whatever you want to call it. It’s not my own, you are getting access directly to the source. I’m showing you how to connect the dots, and everything you need in order to generate AI images on your own and integrate it into your photo booth workflow automatically.
Maybe! AI is always changing. And the model that this training is based on, while the newest, is still evolving. As capabilities grow, so does the potential of what you can provide for your clients. While it’s not possible at the moment, using my workflow, in the near future you may be able to use this to accomplish deepfake-style swaps live. Again, the potential is limitless, but once you learn the process, you can implement the future changes easily.
I’ll cover everything in the course, but there are only three basic tools you’ll need for my Pix’d 1.0 effects, and one additional tool for my Pix’d 2.0 Faceswap effects.
1) Dropbox – To store your photos and upload/download automatically
2) ‘The special app’ (free, but $9/mo for live photo processing without a 15-minute delay)
3) AI engine – You’ll pay a per-image processing fee around 1-2 pennies per photo for the same barbie/cartoon effects I generated. Costs vary based on image complexity and final requirements, which you can easily adjust and preview in advanced.
For the ability to live-text share photos without using a standalone kiosk, you’ll also need a Twilio account.
For my Faceswap Pix’d 2.0 feature, you’ll need a free Github account, and access to one additional tool, which I cover in my course. The cost of image generation will be pennies (usually much less).
Thanks for asking! You can read my general course terms & conditions, as well as course-specific limitations and disclaimers here: What to Know Before Buying.
Supercharge Your Events with AI
Payback period: Less than one event. You can’t beat that!
Mastering AI for Photo Booths
One-time payment
$499
- Access to Pix'd 1.0 (AI Stylization)
- Access to Pix'd 2.0 (AI Face Swap)
- Lifetime Course Access (Revisit and Relearn Whenever)
- Free Lifetime Course Updates (Pix'd 2.0 added January 2024)
- Ready-built Templates for Getting Started Quickly
- Limited Implementation Support
- Access to AI Tools for Custom Ai Image Generation and Manipulation
- Access to Facebook Group for Students
Pix'd 3.0
Coming Soon!
$$
- Everything in Pix'd 1.0 & 2.0
- 100% Custom Image Creation Using a Single Source Image
- Custom Image Training Using Set of Guest Images w/ Batch Processing
- Plug-n-play Templates for Processing All Steps
- Top Secret Workflows
- How to Sell AI (How to Make Over $10k an Event Selling AI Experiences)

Select your plan and save when you pay in full!

So, what are you waiting for?
If you want to offer your clients something truly unique while capitalizing on high-profit AI experiences, this course is for you!
Your success is directly proportional to your determination to take action.
